My Mother's Banana Bread Recipe
During the holidays, I always feel the nagging need to bake and fill my home with the comforting smells of warm desserts. But with a full schedule, I’m not always in the mood for frosting cakes or creating a bain-marie. Which is why - when challenged at work to a banana-themed bake off - it was nice to finally learn my mother’s recipe for banana bread, which I grew up with and enjoyed my whole life.
It’s delicious, there is no frosting or decorating required, and even if you are cursed with an oven that doesn’t bake evenly, it can still make for a beautiful rustic loaf despite potential cracks, making it fool-proof in my opinion. Which is just the kind of stress-free treat I’m in the mood for in the middle of a day of running errands and wrapping presents.
How to Make It
Ingredients:
2 cups of white sugar
1 cup of shortening or softened room temperature butter
4 well beaten eggs
6 mashed ripe medium-sized bananas (if all you have are fresh or lightly spotted bananas, click here for a great trick for making them extra ripe and banana bread-ready in minutes)
2.5 cups of all-purpose flour
1 tsp salt
2 tsp baking soda
1.5 cups of chopped walnuts (optional)
Directions:
1. Preheat your oven to 350° F. If your oven has the option for convection baking, use it.
2. Spray two loaf pans with cooking spray and line with parchment paper for easy removal of the bread.
3. Cream shortening and sugar until light and fluffy. A mixer of course is the easiest tool to use in this process, but for those who don’t own one, just know that I creamed the butter and sugar by hand this time around, and it all worked out fine.
4. Add eggs and bananas and whisk well. Not every bit of banana will break down, but just do the best you can.
5. Add dry ingredients and combine thoroughly. Then mix in walnuts.
6. Pour even amounts into your 2 lined loaf pans. Leave at least half an inch of space at the top of the pan.
7. Bake at 350° F for one hour. After an hour, insert a thin skewer (or a dry spaghetti noodle if you don’t have skewers) into the center of the loaf. If batter comes out with the skewer, leave it in for another 5 minutes. Keep testing it 5 minutes at a time until the center is fully baked and the skewer comes out clean.
8. Leave on the counter to cool. Then slice, serve and enjoy. They’re incredible with softened butter smeared on top.
Note: If you plan to eat these up within two days, feel free to leave them on the counter, as they’re best when at room temperature. If you want them to last a few more days, refrigerate and bring out slices as needed, to come to room temperature before serving.
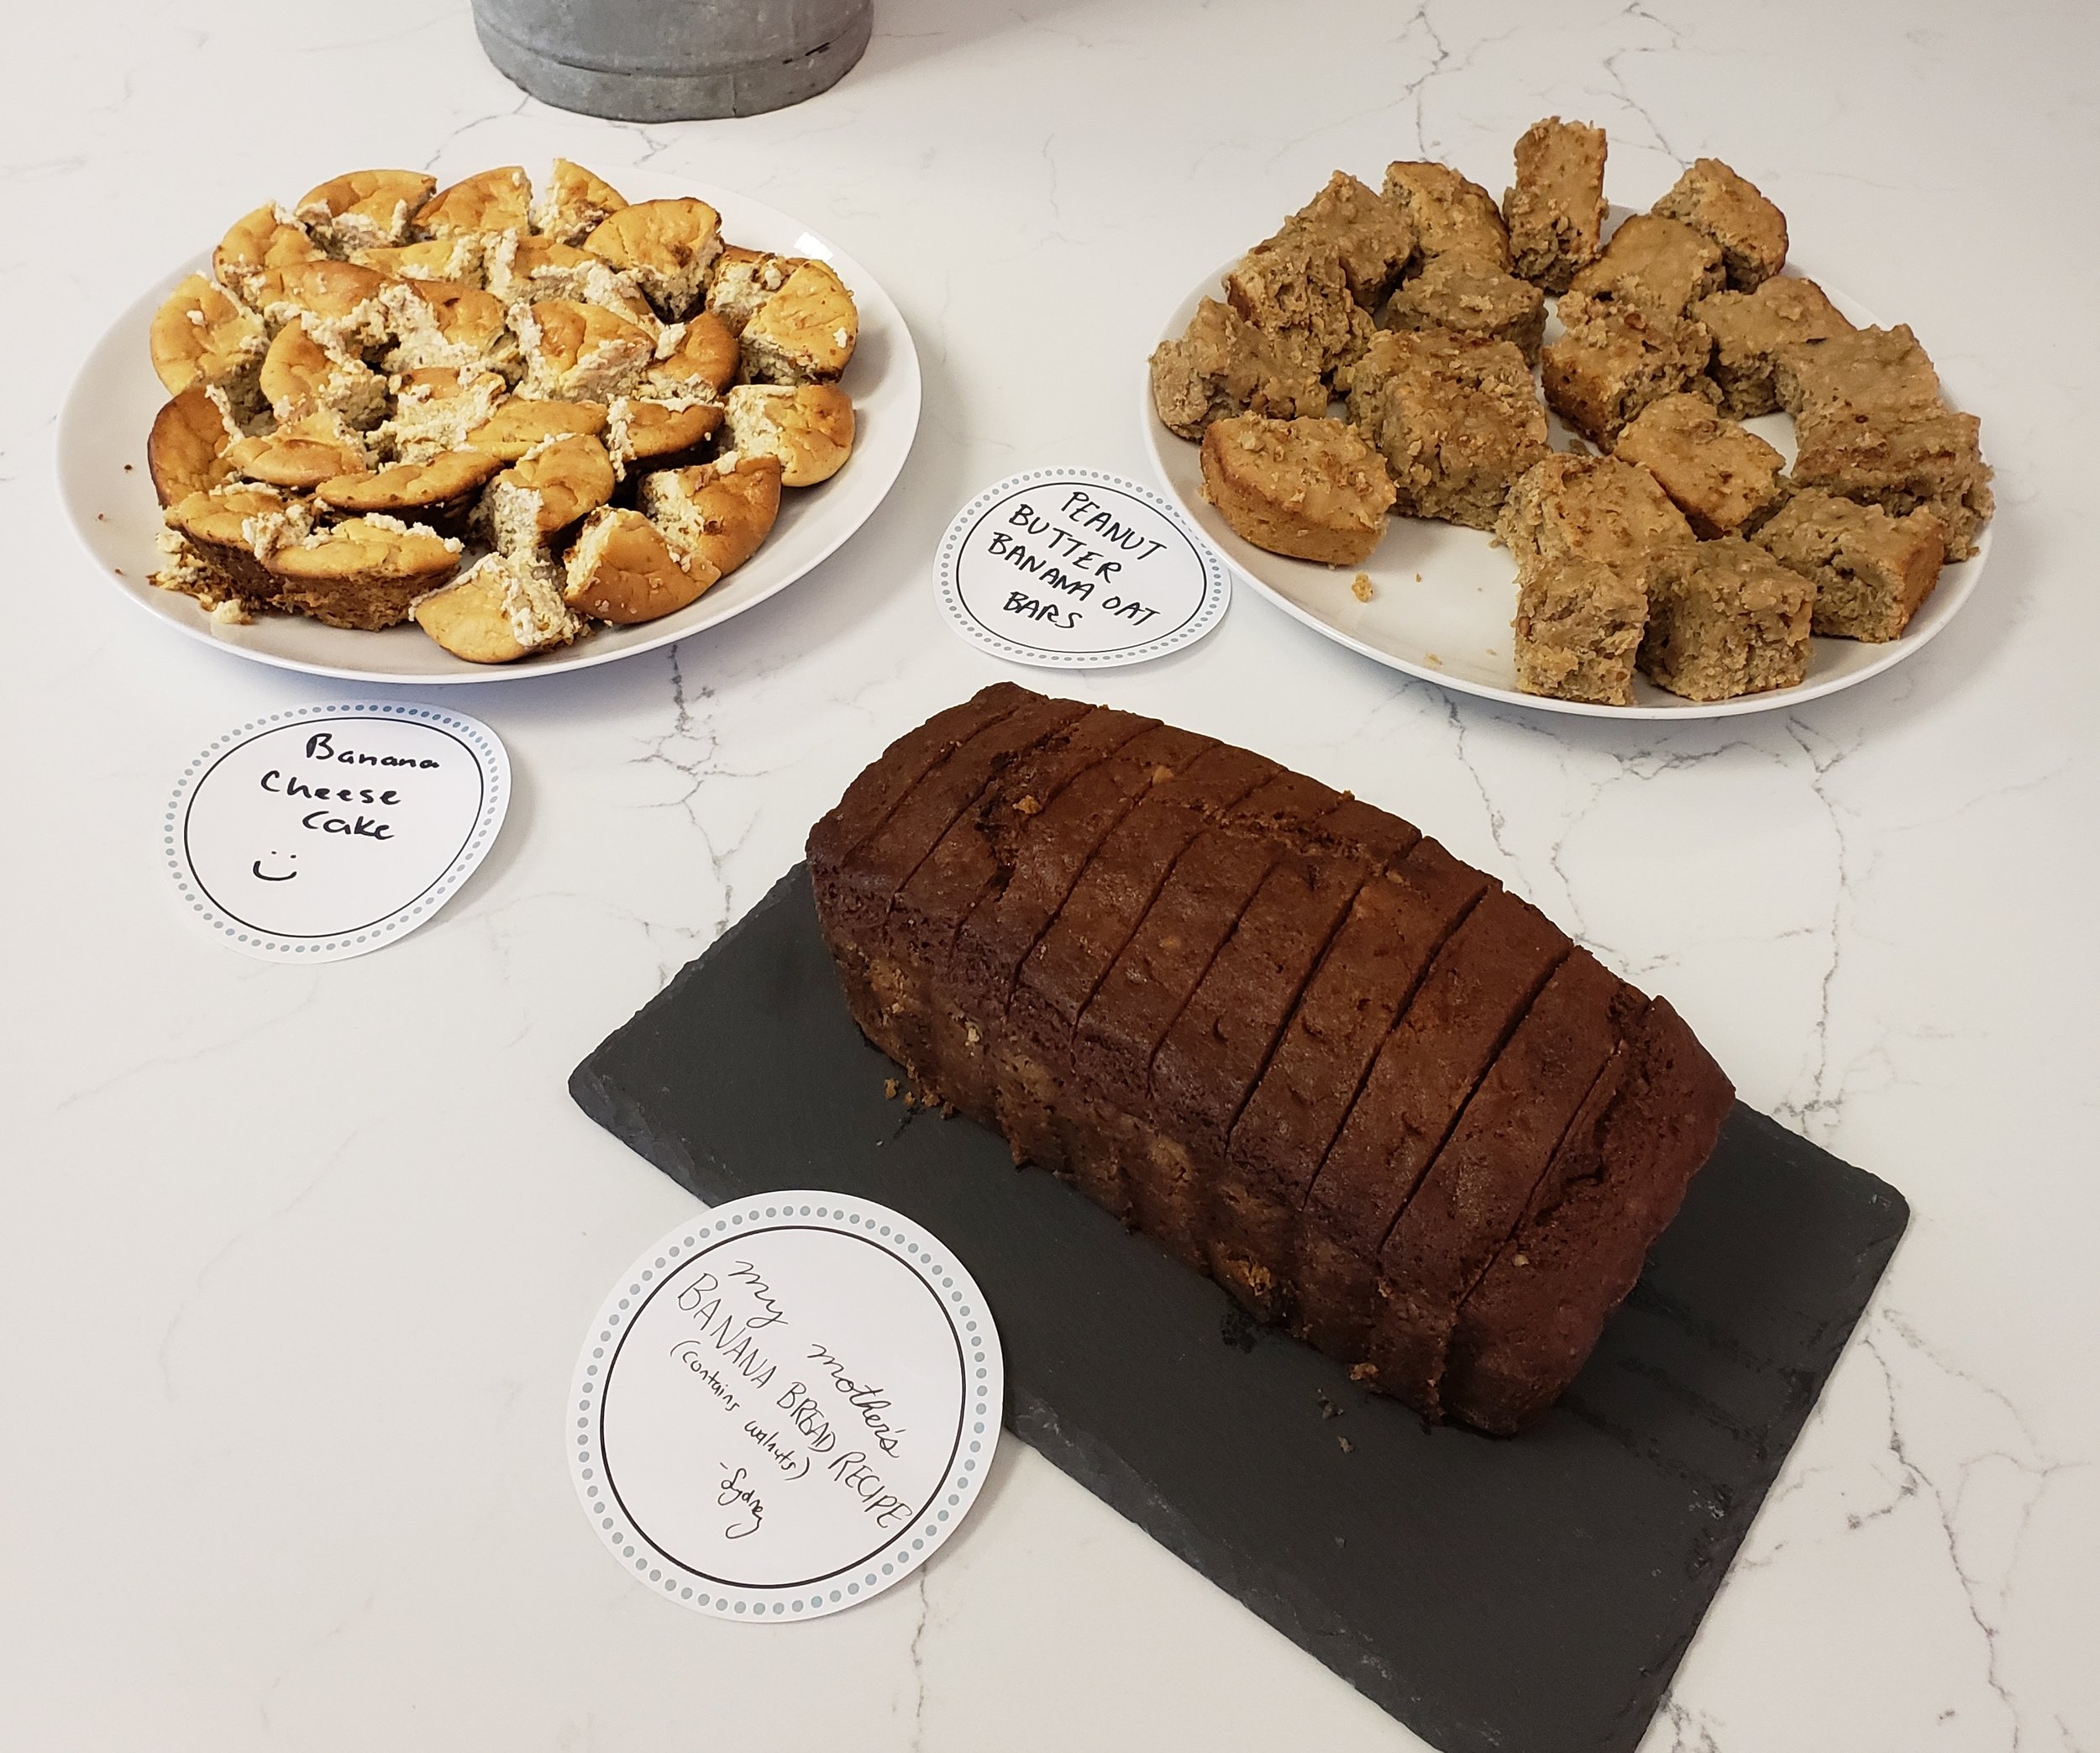
Here is my bread, displayed at work next to banana-themed creations by my other teammates.
I hope you’ll try out this recipe or that it will inspire you to slow down and do some baking during this hectic time of year. Happy holidays!


